
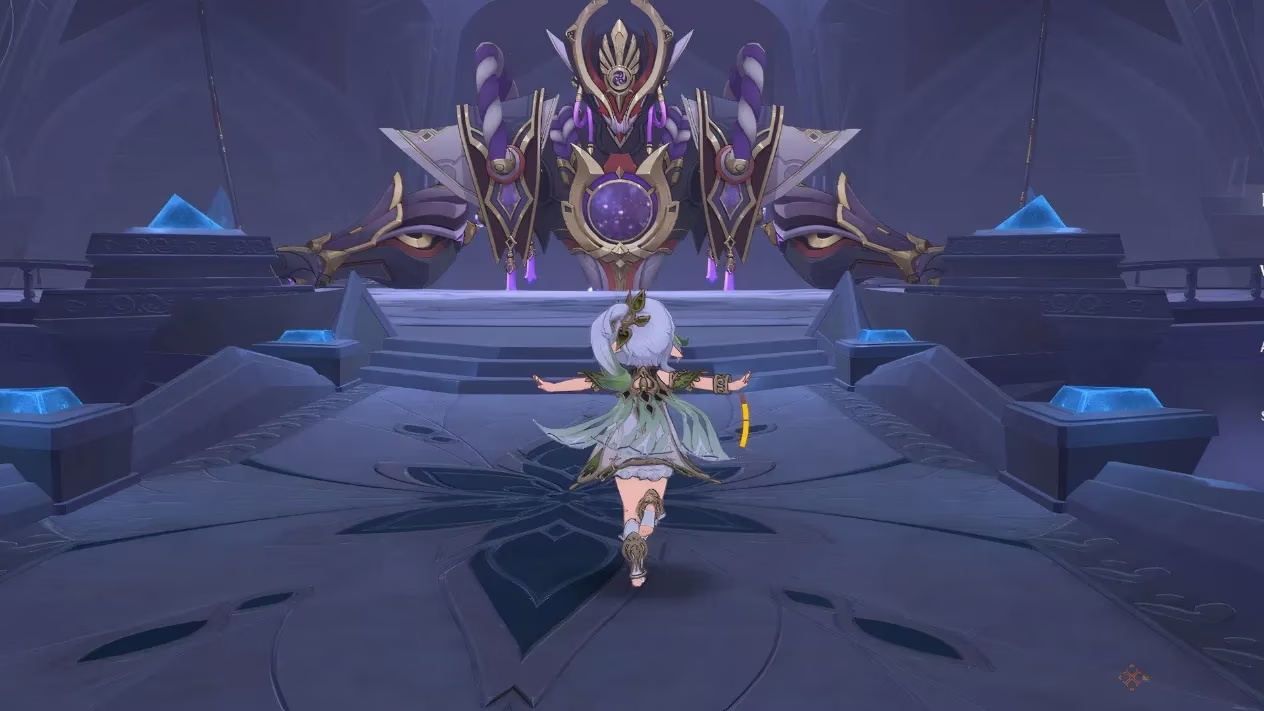
That sassy sixth Fatui Harbinger, Scaramouche, has been giving Travelers nightmares since his debut. Now as the mechanical monstrosity Shouki no Kami, he's turned weekly boss fights into controller-chucking frustration fests. But fear not, brave adventurers! With the right strategy, you'll slice through his phases like yesterday's pizza. Just remember: this ain't your grandma's ruin guard - this bad boy requires pattern recognition and elemental smarts.
How To Find the Balladeer's Battle Arena
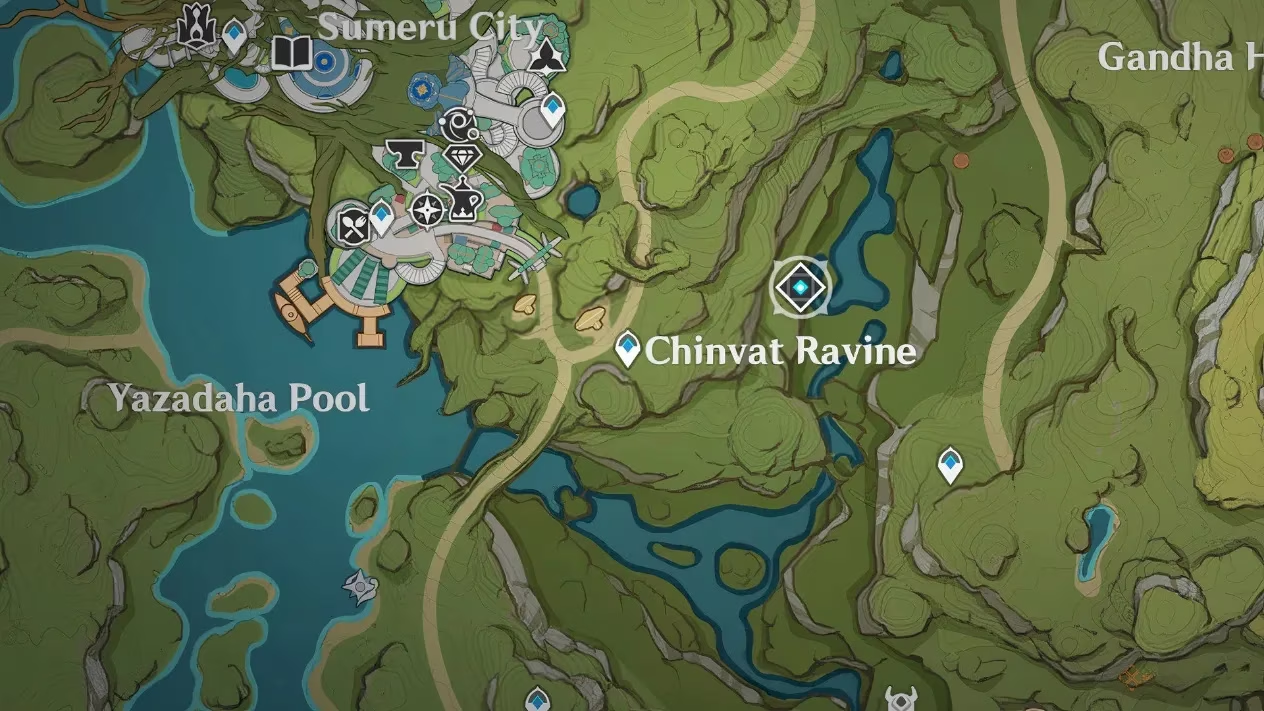
First things first: you gotta unlock this mechanical mosh pit. After wrapping up Chapter Three's Act Five and finishing "Where the Boat of Consciousness Lies," head to Sumeru's Avidya Forest. Teleport to the waypoint near Chinvat Ravine, yeet yourself off the cliff, and look for the domain camouflaged by foliage like nature's sneaky ninja - the Joururi Workshop. Pro tip: mark it on your map unless you enjoy playing botanical Where's Waldo every reset.
Dream Team Assembly Line

Listen up, champ: bringing Electro characters to this rave is like serving sushi at a robot convention - completely useless! His Electro resistance will have your Fischl crying in a corner. Instead:
-
Cryo Crushers: Ayaka or Wriothesley for that sweet superconduct action. No five-stars? Rosaria's your budget frost queen.
-
Healing Heroes: Kokomi's jellyfish or YaoYao's Yuegui work wonders when he starts slamming.
-
Pyro Powerhouses: Yanfei or Arlecchino to melt those Nirvana Engines later.
-
Shield Squad: Zhongli's stone-steel or Noelle's geo-guard for "oops I messed up" moments.
-
Range Rangers: Ganyu or Ningguang - because throwing rocks at floating engines never gets old!
Don't be that Traveler who shows up with three Anemo archers and a dream. Get your ducks in a row!
First Phase: Elemental Dance Floor
When the beat drops, you'll see funky elemental matrices on the ground. Collect energy blocks to power up your Akasha Terminal and activate them. Here's the cheat sheet:
| Matrix Type | Party Trick |
|---|---|
| Electro | Freezes the boss temporarily (requires two activations) |
| Hydro | Summons a healing bubble bath |
| Anemo | Creates an elevator to avoid ground slams |
| Pyro | Melts icy floor hazards |
| Cryo | Extinguishes fiery death zones |
He'll try to zap you with charged Electro balls - that's your cue to activate Anemo and sky-high dodge like a pro. When he slams his palms down during Pyro/Cryo combos? Scoot opposite direction faster than Paimon spotting free food!
Second Phase: Godzilla Mode Activated
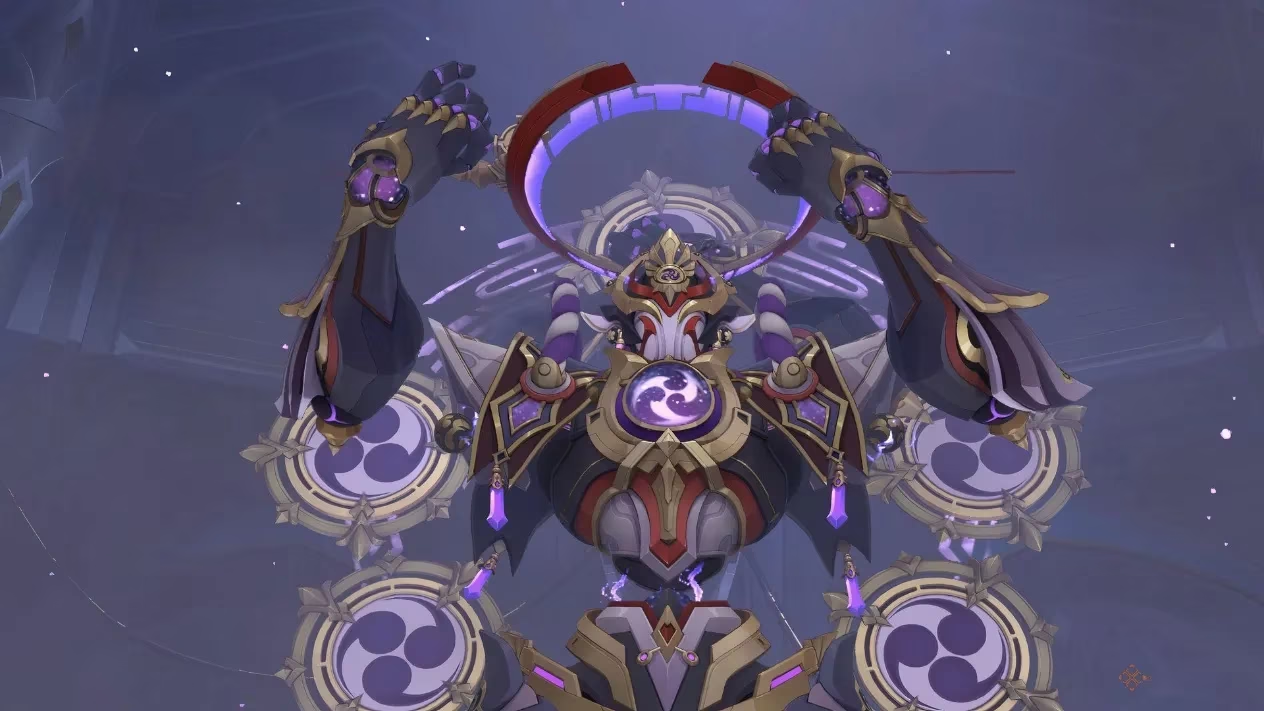
Phase two makes phase one look like toddler wrestling. Say hello to Shouki no Kami's shield and his personal vendetta against your survival. Your Neo Akasha Terminal becomes MVP here - grab energy blocks to charge its Dendro smackdown on his shield.
His attack roster includes:
-
Hydro-Anemo whirlpool combos (run from the center like it's last call)
-
Elemental bombs (match elements: Dendro/Cryo for Hydro bombs, Pyro for Cryo)
-
Electro portal projectile spam (dance between the danger zones)
-
The dreaded Setsuna Shoumetsu Cometh: When he summons Nirvana Engines, blast them with Pyro/Cryo ranged attacks before he insta-kills you.
After engine destruction, unleash the Akasha Terminal's charged attack for a free damage window. This is where you beat the snot out of him!
People Also Ask
Q: Can I solo this with a level 50 starter team?
A: Unless you're masochistically farming for the "50 Defeats" achievement, bring proper units. This ain't a hillichurl camp!
Q: Why does he keep one-shotting me in phase two?
A: You're ignoring the Nirvana Engines! Destroy them faster than Paimon devours sweet madame.
Q: Do artifacts matter?
A: Is the sky blue? Equip crit damage artifacts unless you enjoy 30-minute slap fights.
Loot Galore: Why We Suffer
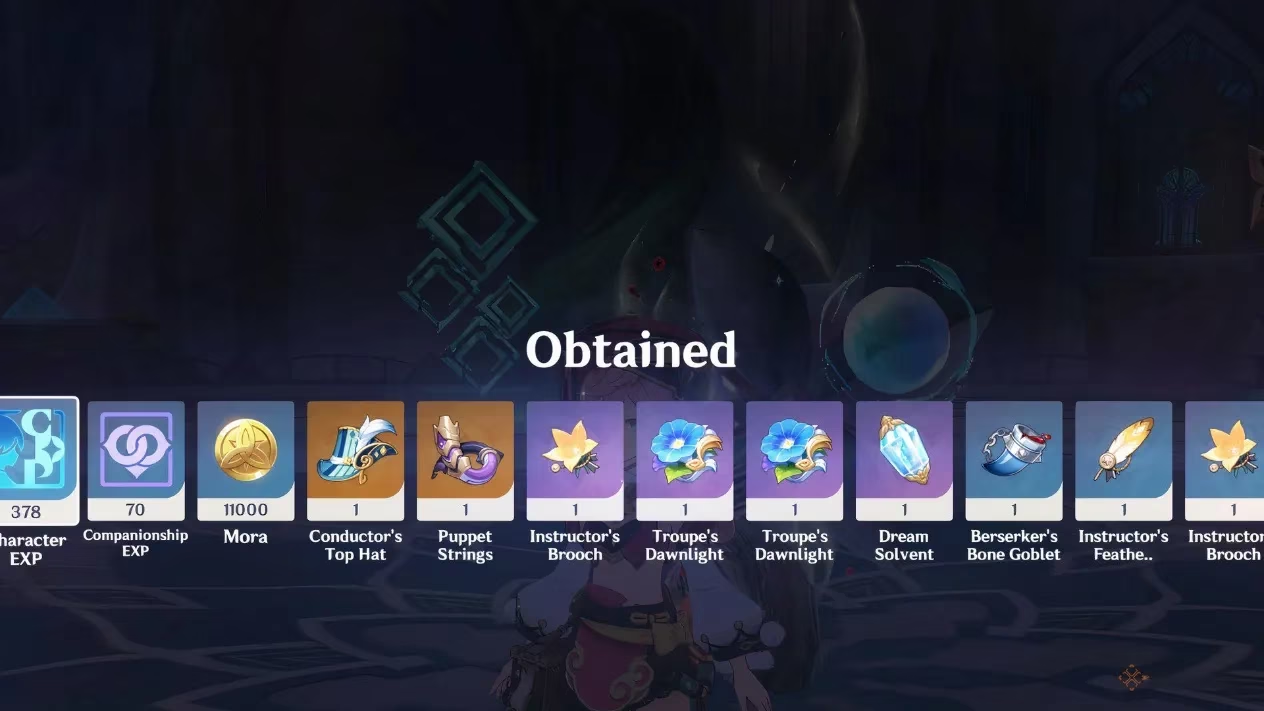
The pain's worth it for these sweet goodies:
-
✨ Puppet Strings / Mirror of Mushin / Daka's Bell (talent materials)
-
💰 Mora mountains
-
🔮 Dream Solvent for talent conversions
-
⚔️ Midlander Weapon Billets
-
💎 Elemental gems (Vajrada Amethyst etc.)
-
🎭 Artifacts: Berserker, Instructor, Exile, Gladiator's Finale & Wanderer's Troupe
Seriously, Wanderer's Troupe pieces alone make this worth the controller-throwing rage.
Ready to turn this mechanical menace into scrap metal? Grab your Cryo crew, practice those matrix patterns, and show Scaramouche who's boss! Your artifact inventory will thank you later 😉
Comments